Adding or Editing Users
Use this screen to add new users or modify existing users.
The user is the basic level at which you may assign permissions. The concept of 'users' allows the program to enforce ownership of submitted items. With ownership the program insures that two users may not change each other's submissions. User names may also be used as members of user groups and in email notification lists.

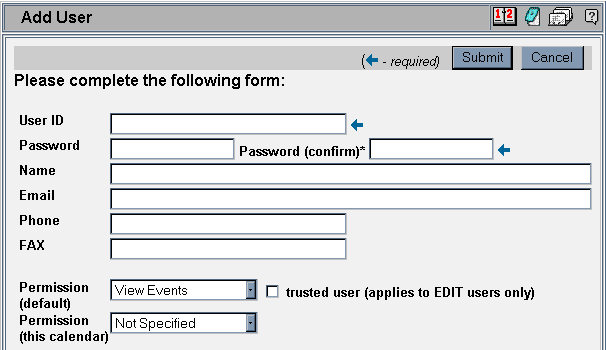
The fields on this form are documented below:
User ID: A 32 character alpha-numeric field starting with a non-number. This field may be the user's email address if you like.
Password: A sixteen character alpha-numeric field starting with a non-number.
Password (confirm): Enter the same value as Password to confirm your entry.
Name: The user's full name.
Email: The user's email address. If this field contains a valid email address then you may include this userid in an event's Notification List so that this user is notified if the event changes.
Phone: The user's phone number.
FAX: The user's FAX number.
Permission (default): The permission level given to this user.
Note: There are five permission levels as described in this help page.
Trusted User: You may choose to assign certain users an additional permission called 'Trusted'. A trusted user is exactly the same as any other user except that this user may modify everyone's events. Normal EDIT users may only modify their own events -- a 'trusted' user may modify anyone else's events.
Note: This option applies to EDIT users only. For all other permission levels this value is ignored.
Permission (this calendar): The permission given to this user on this calendar only. This allows you to specify 'permission per calendar'.
Note: This dropdown only appears if there is more than one calendar.
After pressing submit on the edit screen the User Review Screen will appear. You may confirm the changes you made on this screen. Hit finish to return to the User Manager. If you need to modify any values for this user you may hit the Back button on your browser or hit Finish and re-edit this user.
If you are adding a user you will be able to specify the User ID field on this screen as well, otherwise it will be read only.
To change a user's user id you must delete the old user and add a new user. Note that any events created by the removed user id will still reference that (now non-existent) user id.